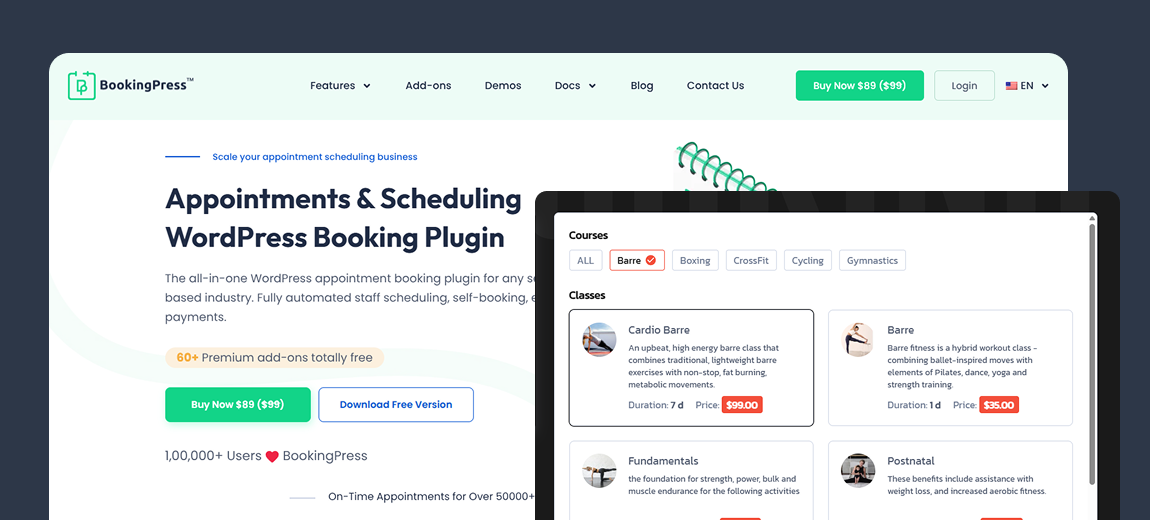
Thinking about how to create a booking form in WordPress? Most easy solution for this is to simply use a form builder plugin. Yet most of the time, that isn’t the most effective solution.
If you want a smoother booking experience for your customers and less manual work for you, using a dedicated booking plugin is the best way.
This guide explains how to add a booking form to your WordPress site using one of the best WordPress booking plugin, BookingPress.
What is a booking form in WordPress?
A WordPress booking form is a digital form on your website that is used to collect appointments online.
Typically, the customer can book your services 24/7 anytime, from anywhere once you have a booking form set on your site. Plus, you can easily:
- Manage real time availability.
- Accept online payment, full or partial deposit.
- Automate communication.
- Sync appointments across personal calendars.
- Offer flexible booking types by hours or fixed slots.
- Upsell or customize.
No matter whether you run a salon, clinic, or consultancy business, a WordPress booking form can accept endless appointments effectively.
Why add a booking form to your WordPress site?
Let’s see why many service businesses add a booking form to their WordPress site.
1: 24/7 availability
Customers or clients can book your service or appointment anytime they want; no need to wait for business hours.
2: Lowers admin burden
No more going back and forth with phone calls and emails. Customers can see the real time availability and book an appointment for themselves.
3: Lower no-show rates
If you are using a WordPress booking plugin to create your booking form, you can send automatic notifications and reminders to make sure clients don’t forget their appointment.
4: Upfront payment
Most booking forms let customers pay right at the time of booking, optional or compulsory, depending on you. You can accept online payment, be it either a complete or a small deposit, to secure a slot.
5: Organized data
Rather than juggle multiple spreadsheets, a booking system stores all service data, client info and appointment history in one place.
6: Professional image
Having a booking form on your business WordPress site appears professional and builds clients’ trust.
Choosing the right plugin to create a booking form in WordPress
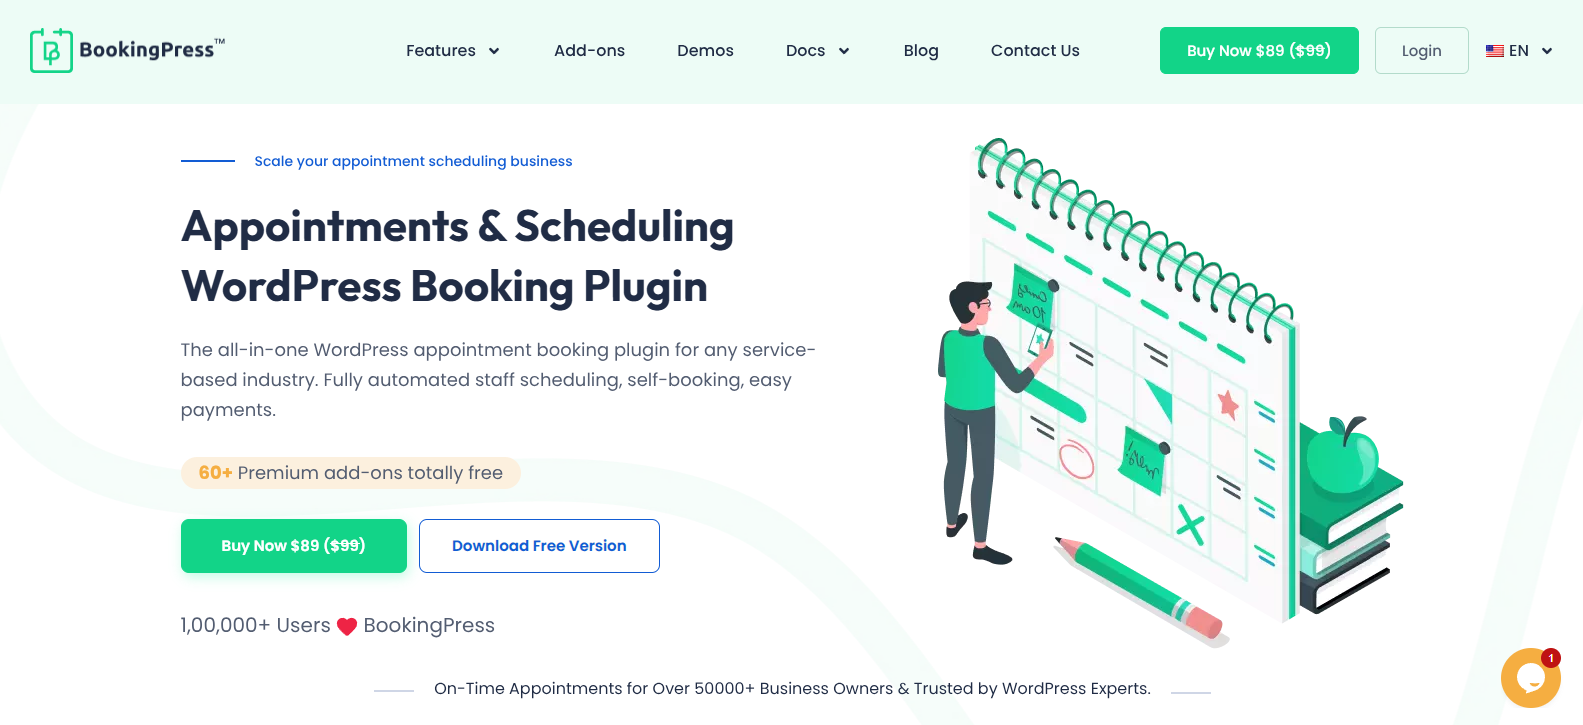
Here are the key features that make a WordPress booking plugin the best to create your own Booking form:
- Ease of use with zero coding
- Fully responsive booking form
- Online payment gateway integrations
- Automated notifications
- Calendar sync
- Staff and service management
And the one plugin that covers all these features is BookingPress. It is an all-in-one WordPress appointment booking plugin for creating booking forms with no coding.
BookingPress comes with a user friendly interface and 60+ premium addons. Typically, it has a rich ecosystem for creating fully customizable booking forms with extensive styling options. Besides, BookingPress got:
- Over 20+ payment integrations such as PayPal, Stripe and more.
- Two-way sync bookings across popular calendars such as Google, Outlook and Apple calendars.
- Unlimited services and bookings.
- Advanced staff and location management.
- Automatic notification via WhatsApp, Telegram, SMS and Email.
- Centralized analytics dashboard with detailed reports.
How to create a booking form in WordPress (step-by-step)
Here’s how to create and add a Booking form to your WordPress site.
Step 1: Install WordPress booking plugin
The first step towards creating a successful service business is creating a booking form. We’ll recommend going with BookingPress if you want to create your booking form with zero coding. Just a simple drag and drop is all it takes.
- First, download the plugin from their website.
- Then, install the BookingPress plugin in your WordPress dashboard.
- Next, activate it and you’ll see the BookingPress icon in your WordPress sidebar.
- Click on the icon and its smart setup wizard will guide you all the way. (You can also skip it and set up your booking form anytime later.)
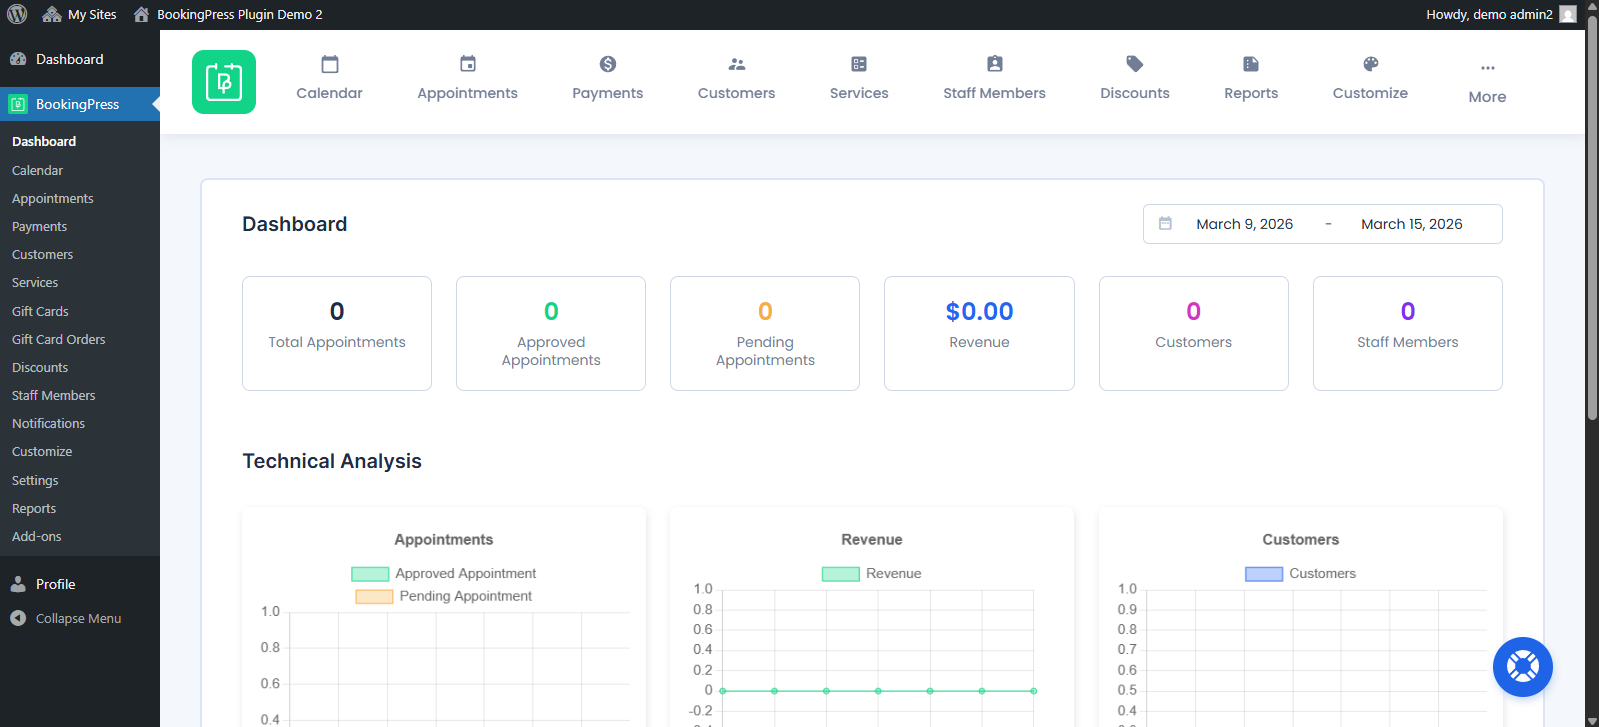
After installing and activating BookingPress, explore the plugin dashboard first.
Step 2: Create your services
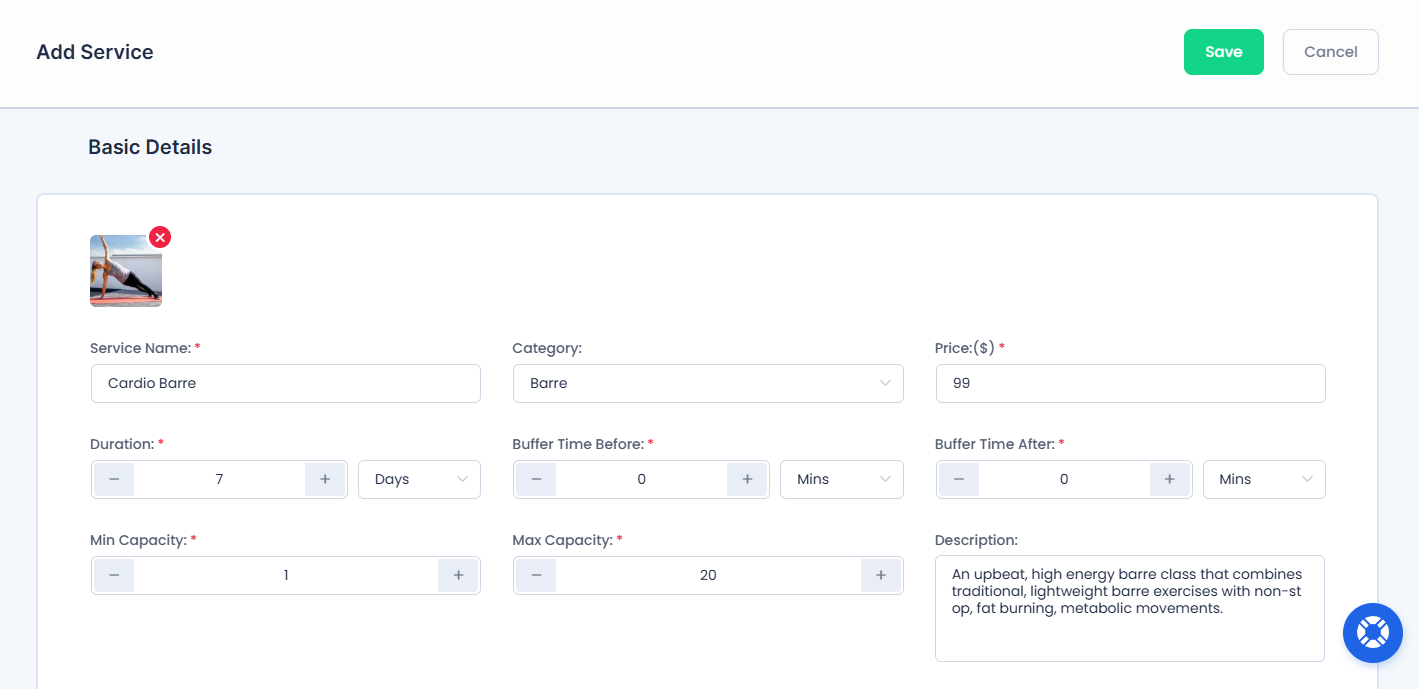
Next, it’s time to add your services. Simply click on the “Services” panel inside BookingPress and you can easily create your services by adding:
- Service name
- Duration
- Price
- Description
- Image
- Quantity
- Extra Services (Upsell)
- Assign a staff member to each service
One more thing we forgot to add is that you can also create a service category to make it easy for customers to search for the specific service.
Step 3: Configure staff members
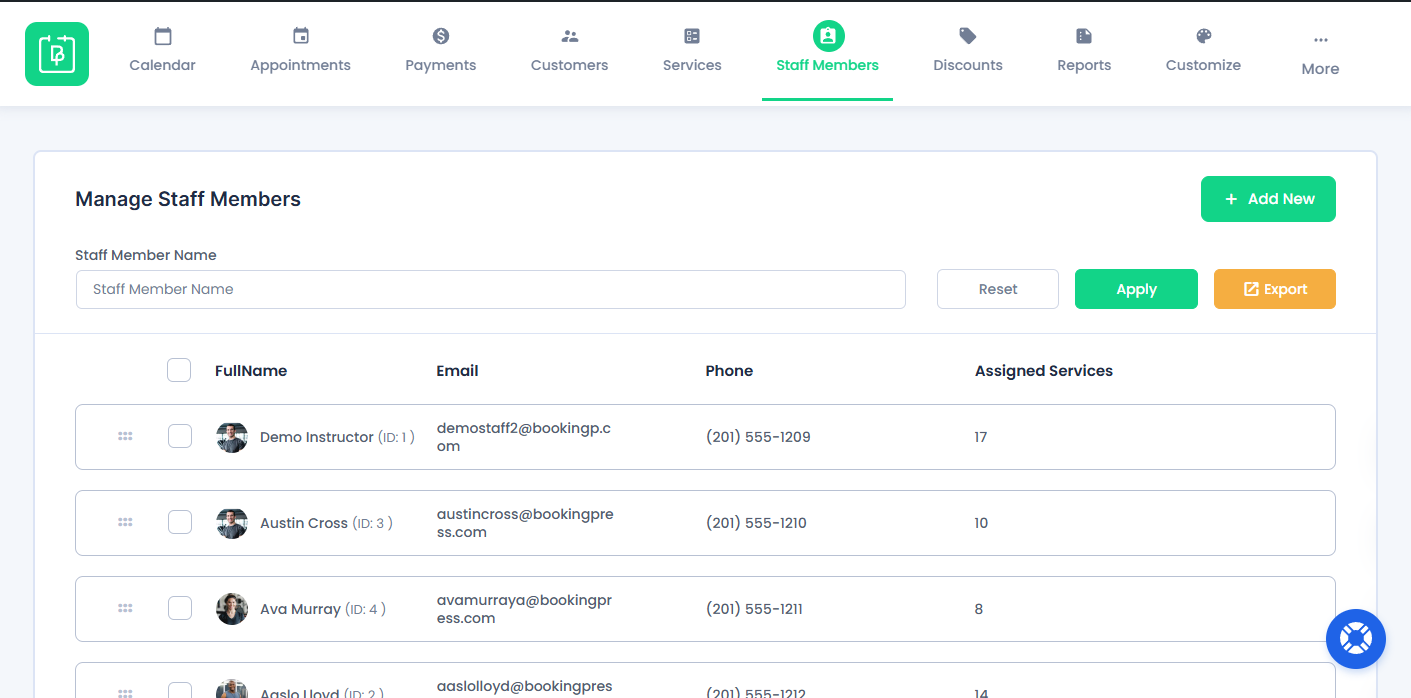
If you own a big service business, there are obviously going to be more than 1 staff member. BookingPress comes with an advanced staff management system, so you can add unlimited staff members and manage their schedules.
You can assign specific or multiple services to each staff member. And to make sure everyone stays on the same page, your employees get their own dedicated dashboard to manage their appointments, schedule, clients and more.
Step 4: Set up time slots and availability
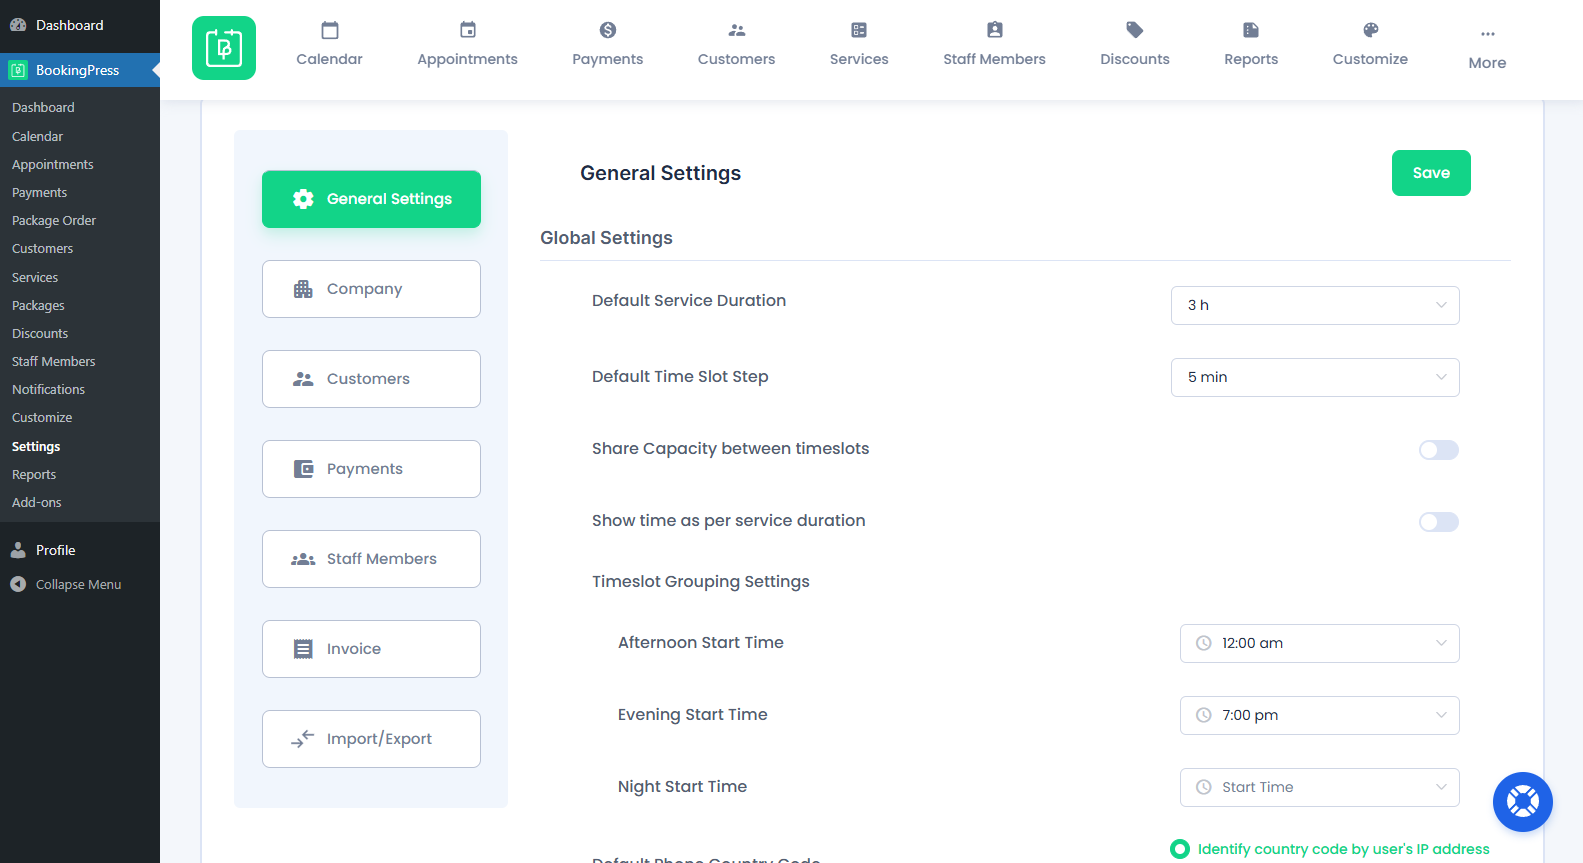
Setting up available time slots is another reason we’ve chosen BookingPress, rather than a simple form plugin.
BookingPress always shows real time availability to customers, staff members and admin to ensure all stays on time. To set up. Go to BookingPress > General Settings, and you’ll easily be able to set the:
- Default Service Duration
- Default Time Slot Step
- Show time as per service
- Share Capacity between timeslots
- Adjust Timeslot Grouping Settings
- Date and Time format
- Basic Appointment Settings
And a lot more to stay organized and always on time.
Step 5: Customize your booking form
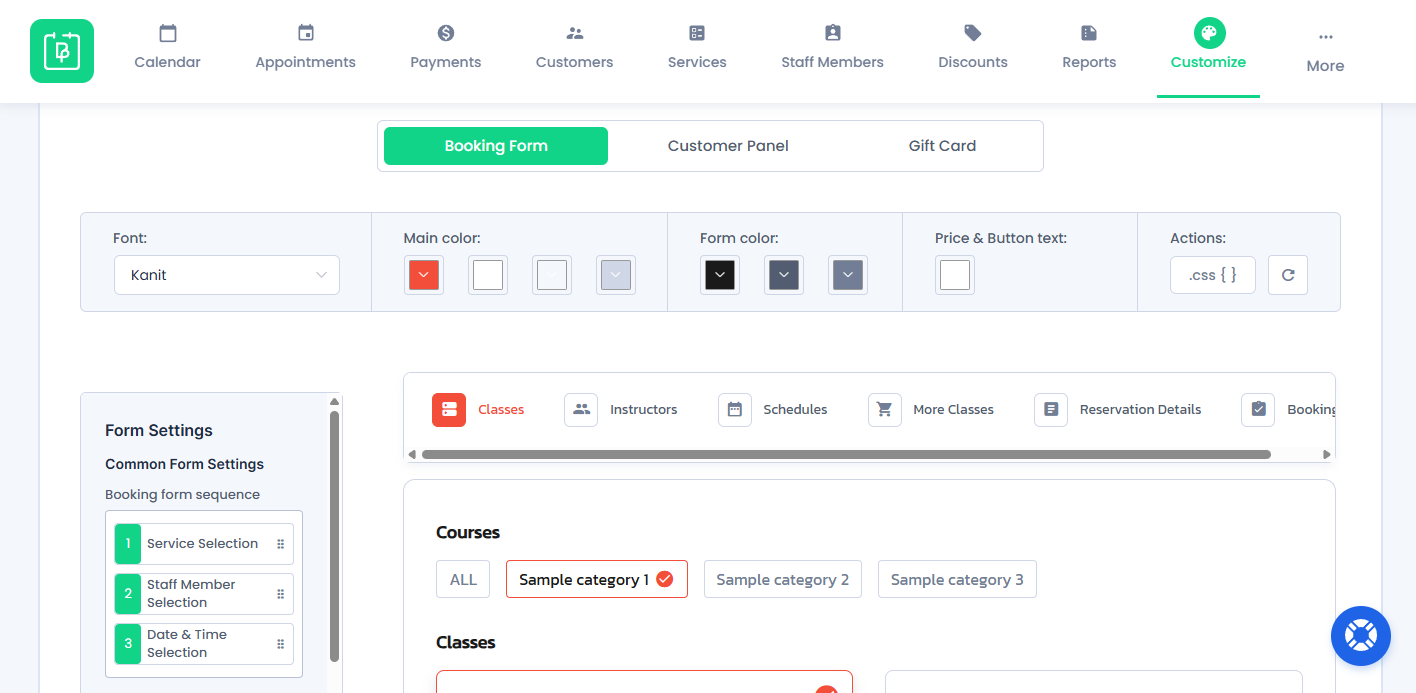
Customizing your booking form with BookingPress is extremely easy. All you have to do is simply drag and drop the fields you want, change the booking steps and create a smooth booking journey for all clients.
The best part is you get an extensive set of styling options to design your booking form your way.
Step 6: Add the booking form to a WordPress page
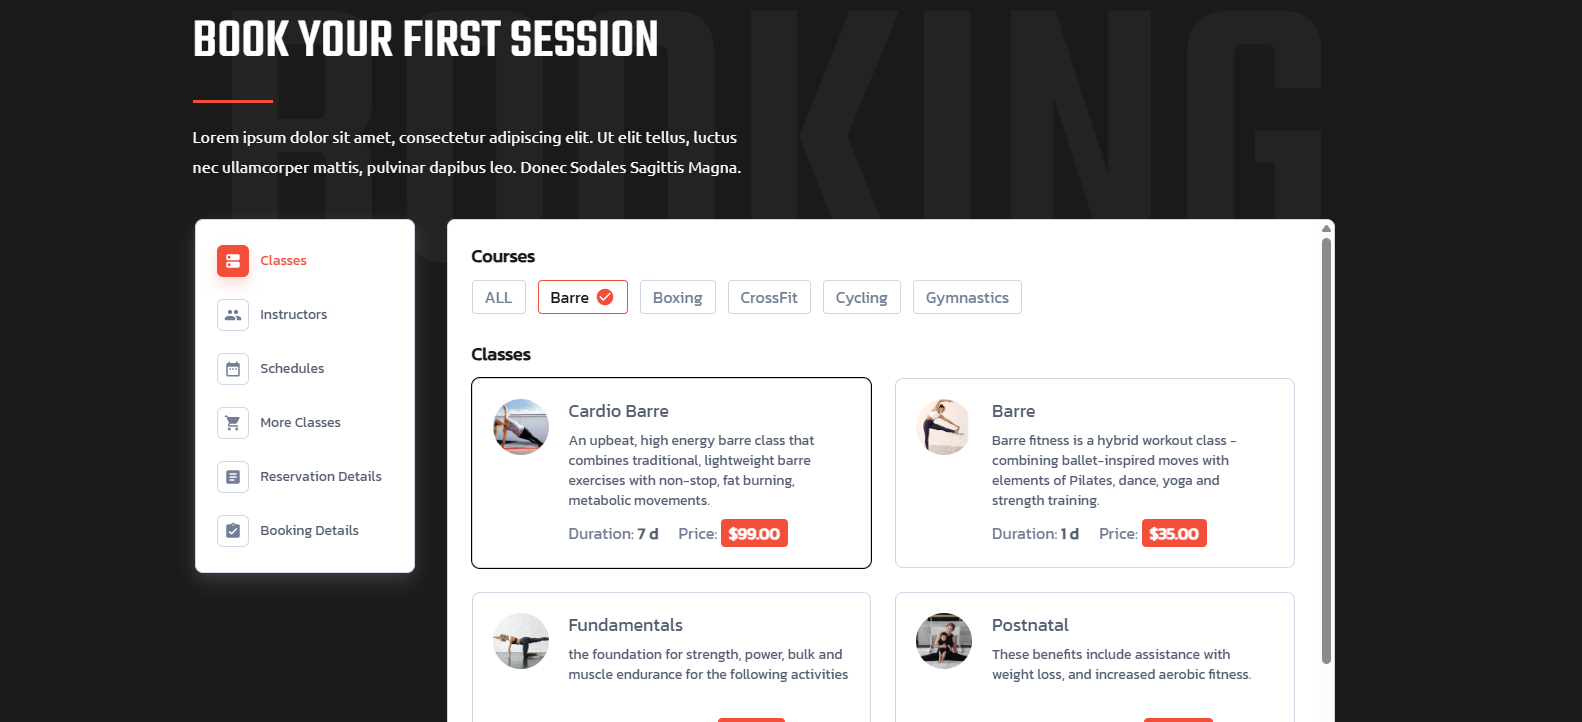
At last, simply copy and paste your booking form shortcode and embed it anywhere you want on your WordPress website.
Whether it be the home page, service page, or specific appointment page, you can easily add your booking form to your WordPress site with zero hassle.
Bottom line
Online booking is no longer a luxury for service businesses. It’s an expectation.
By adding a booking form to your WordPress site, you make it much easier for your customers to schedule appointments without emails, calls or manual coordination. Moreover, it also lowers your manual admin tasks, saving you hours every week so you can focus on growing your business.
If you’re looking for an easy way to set up a professional WordPress booking form, BookingPress comes packed with a complete solution.
From flexible scheduling, customizable forms, to automated notifications, this WordPress plugin lets you accept endless appointments and grow your business.