Documentation

Home » Documentation » Visuals » Image updates

Image updates

In this article

This article covers visual image updates for regular images in choice options.

If you have 3D model, please visit this article.

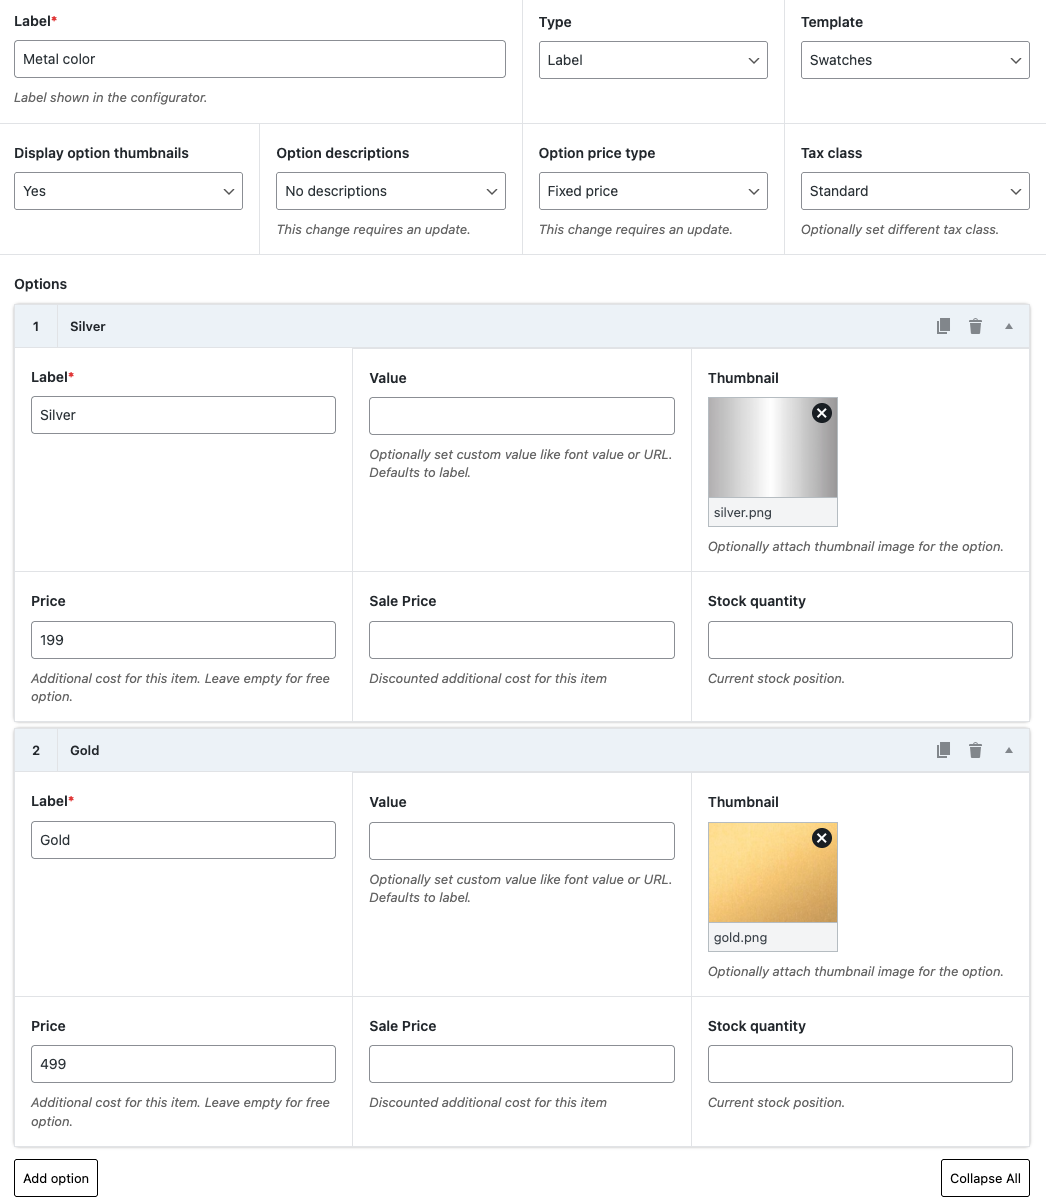
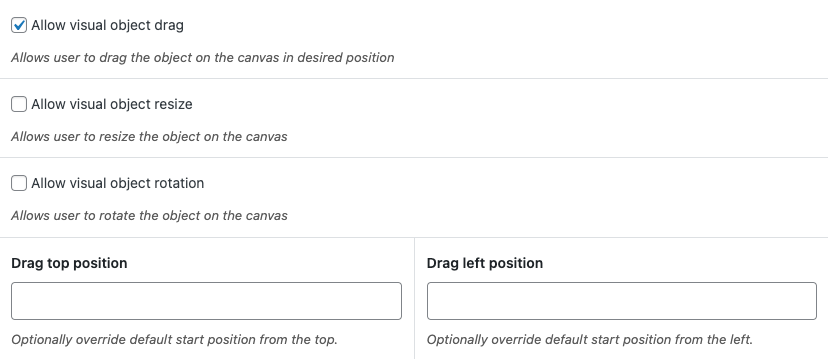
To add visual images for your configuration options, we support 2 options:

  1. Using the WCB visuals
  2. Using the choice option thumbnails

Note: this is only applicable for choice options. To show text inputs, read the next article: “Text input field visual

Choice thumbnails

In case your thumbnail image is the same as the visual preview image, you can save yourselves some time by checking the box “Visual thumbnail” in your choice Visuals tab.

You can also specify the layer of the thumbnail image.

This will automatically place the thumbnail onto the product image when the option is selected.

If you have larger images, or different images, you have to use the WCB Visuals.

Drag and resize

When using choice thumbnails, you can also allow drag and resize for these options if you have the visual controls add-on installed.

You can define a top and left position for the draggable image as well.

Visual configuration

To add a new visual group, head over to WCB > Visuals and create a new visual.

When creating a new visual group, make sure to add descriptive title so you can locate your visual group with ease.

Now you can add in as many visuals as you want. Each visual contains an image, optional layer and index settings, and the corresponding display rules.

Configuration visuals display

You can optionally limit the visual group display by entering a specific configuration form or product. This enables you to show different images for different products. Please note that these fields are not required. If you only have a single configuration form, you can leave both fields empty.

Multi image views

You can also update multiple product views at once. Simply add more images to the Visuals field. Each image will represent a single view.

This allows you to add 3 images for example: one for front, left, and top view.

Image view indexes

The order of images is important. By default, the indexes will be: 1, 2, 3 for 3 images.

If you want to skip a view, you need fill out the field “Indexes” as well.

Then you can enter something like: 1, 2, 4 if you want to skip view 3.

Image view layers

Finally, you can control the layer index of the images. Higher numbers will be displayed on top.

Again, we support separated comma values. So you can set different layer for different view.

If you enter 10, 50, 90 for example, image on slide 1 will have layer 10, slide 2 layer 50 and slide 3 layer 90.

Next

Text input field visual