Before we start
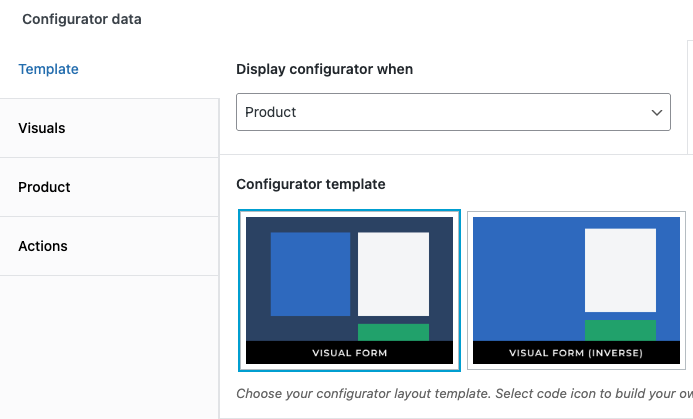
Before we start linking the configurator visuals, make sure your configurator template supports displaying visuals. First, your configurator template should be set to “Visual form” (or “Visual Form Inverse”).

Documentation
Before we start linking the configurator visuals, make sure your configurator template supports displaying visuals. First, your configurator template should be set to “Visual form” (or “Visual Form Inverse”).
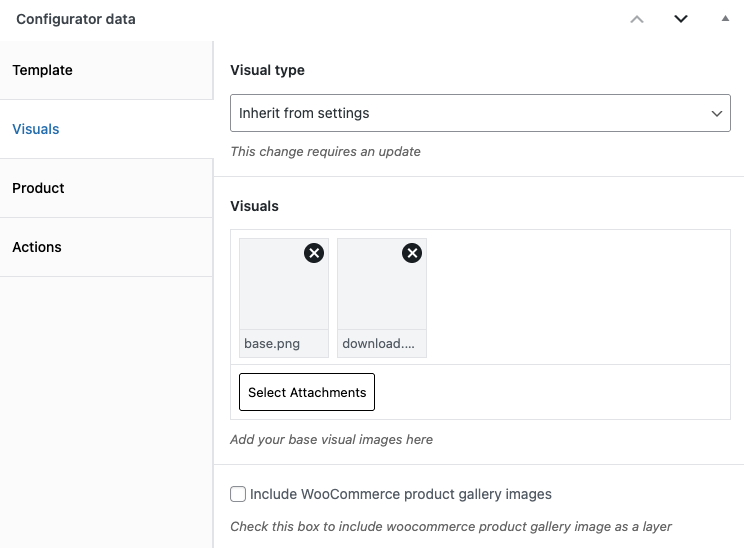
Second, check your base image layers in the Visuals tab of the “Configurator Data” metabox on the WCB Configurator edit page. If you don’t have any yet, add one image for each “view”. If you want to have 4 images appear in the gallery, upload 4 images.
You can control the images that are being displayed in the configuration in our Visuals section.
To refine the image display, you can assign a configuration and a product to make sure the visual image representation is accurate.
Head over to WCB > Visuals and create a new visual group.
Now you can start adding in your visual display rules.
Add a new row, upload an image and add in the rules that apply to the image.
You can also split up the visual groups if you like to make it more manageable in the back-end.
Because you can filter which configuration form the visual rules should apply to.
If you have WooCommerce installed, you can also narrow down the search to specific products.
Visual groups can only contain images for choice options. Input previews can be controlled in the input field.
Head over to WCB > Input > Visual (tab). Here you can find the options for the input
If you want to create a 3D customizer, you should choose 3D visual as your visual type in WCB > Settings > General.
This allows you to create fully functional 3D configurations with support for various 3D features.