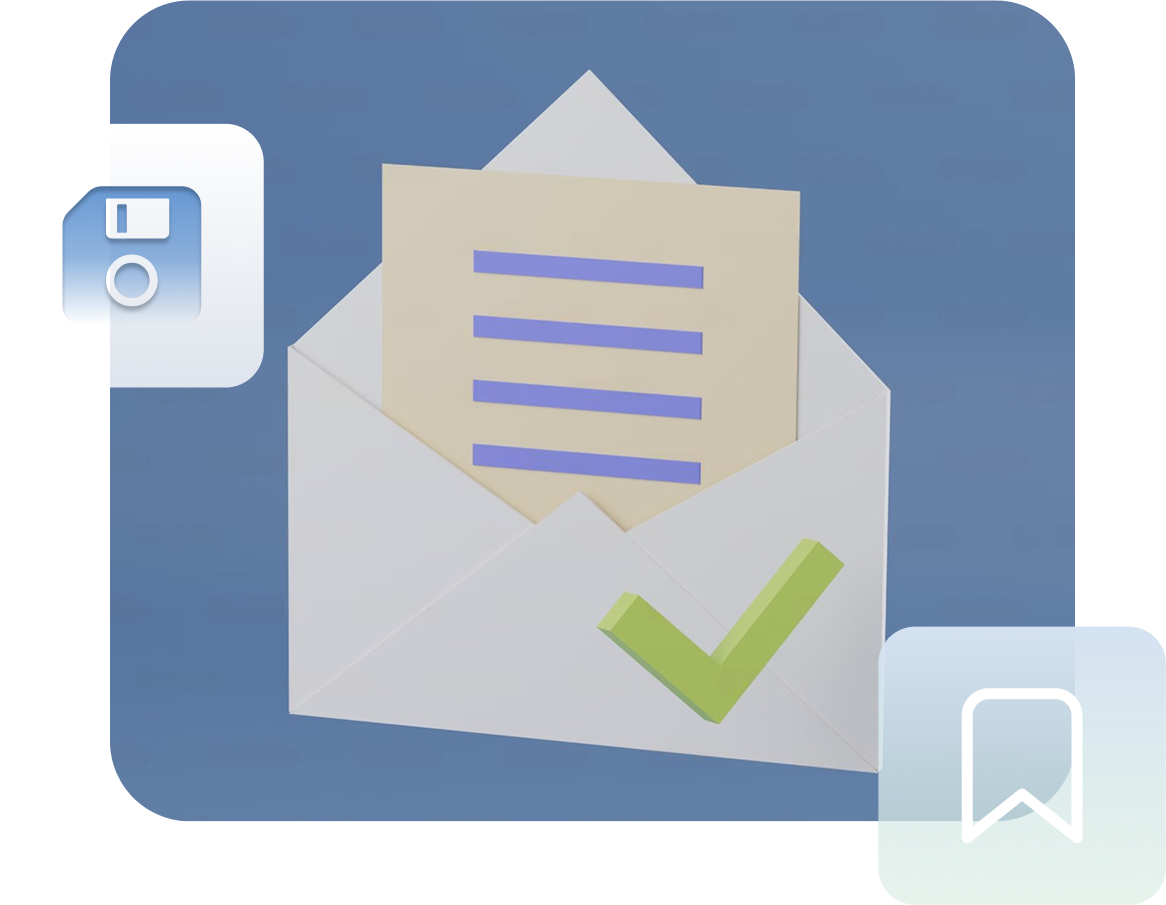
How it works
First, the user starts filling out a form on your website. At any point, they can choose to save their progress by clicking the “Save and Continue” button.
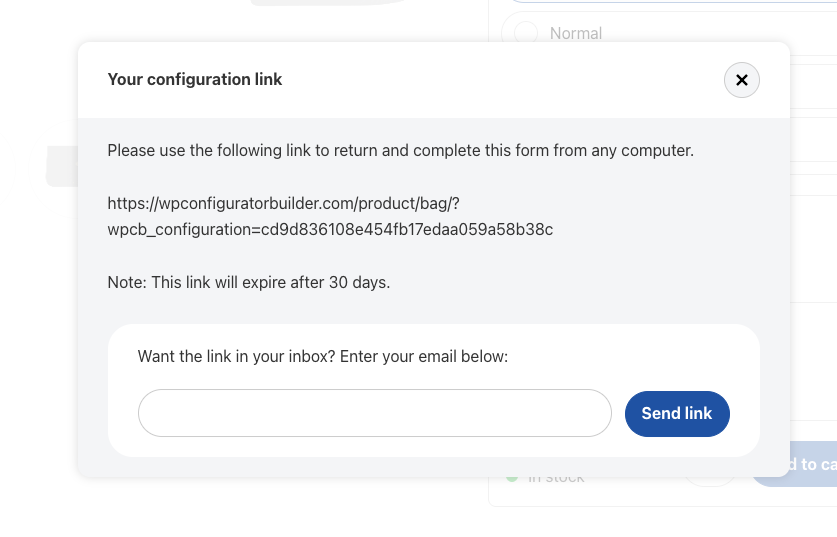
This action generates a unique, time-sensitive link that they can use to return to the form later. Users are then notified via email or on-screen message with this link, allowing them to come back to their form at any time.
When they return, the form automatically loads with all the previously entered information, and they can continue right where they left off
Why use the WCB save and continue form?
There are several compelling reasons why this feature can significantly enhance the user experience and boost form completion rates. By giving users the flexibility to save their progress, you reduce the likelihood of form abandonment.
Complex or lengthy forms often deter users from completing them, but with the Save and Continue feature, users can break the task into manageable parts and return when they have more time.
Additionally, this feature increases your chances of collecting complete and accurate form data. When users are able to finish forms at their own pace, they are more likely to fill out every field thoroughly, resulting in higher-quality submissions. This also saves users time, as they won’t have to start the form from scratch if they’re interrupted.
Furthermore, by offering users the option to save and return later, you provide a level of convenience that improves overall satisfaction with your site, encouraging future interactions and submissions.
Key features
Save progress
With the save and continue functionality, users can automatically save their progress at any stage of the form. No more worrying about losing data due to browser crashes, accidental closures, or interruptions. The form will securely save information entered, so users can come back at any time to finish what they started.
User-friendly
The save and continue feature is intuitive and easy to use. Users simply click a “Save and Continue Later” button, which generates a unique link to access their saved form. This link can be emailed to them or stored for later use.
Customizable notification email
After saving the form, users will receive a custom confirmation message with the link to continue. You can personalize this message to match your site’s branding and tone, providing clear instructions and reinforcing the user’s ability to continue the form at their convenience.
Seamless integration
Whether you’re using a contact form, order form, application, or survey, the Save and Continue feature integrates seamlessly with popular WordPress form plugins like Gravity Forms, WPForms, Ninja Forms, and more. It’s compatible with both simple and complex forms, making it perfect for a wide range of use cases.
Secure data storage
User data is stored securely, ensuring that information entered into the form remains private and protected. You can choose where the data is stored, and it will be available only to the user who saved the form, accessible through the unique, time-sensitive link.
Time limits (optional)
You can set time limits for how long a saved form will be accessible, providing an additional layer of control. For example, you can allow saved forms to be accessed within a 30-day window, helping to ensure that forms are completed in a timely manner.
Multilingual support
The save and continue functionality supports multiple languages, making it an excellent choice for global audiences. Whether your site is in English, Spanish, French, or any other language, users will have a seamless experience saving and continuing their forms.
How to implement the save and continue form on your WordPress site
Step 1: Install the WCB plugin
Make sure you have the WCB plugin bundle installed or the Form actions add-on that supports the save and continue feature
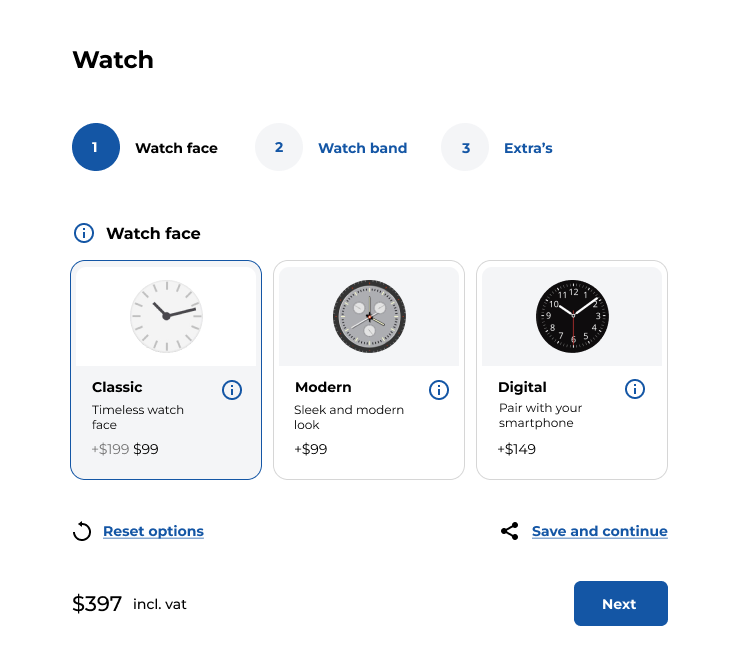
Step 2: Enable the “Save and continue” button
Head over to WCB > Configurations and select the configuration form you want to enable the feature for. On the configuration page, scroll down to the “Configuration data” box and open up the “Actions” tab. Finally, check the “Show save and continue button” option and save the configuration.
Step 3: Customize and publish
Customize the messaging for your users. Once you’re happy with the setup, publish the form on your site. Users can now save their progress and come back later to complete the form.